

10 Lessons Learned first time out doing Large Format Photography
10 Lessons Learned first time out doing Large Format Photography
Beginning of the (steep steep) learning curve


About three weeks ago I picked out a new camera and made the trade. My Zenza Bronica SQ-Ai kit had been with me for about a year, but I never really got along with the camera: we were just not a match. Sometime over the last couple of months, I decided what was next was to try my hand at large-format photography. And that is how I ended up with a Linhof Technika IV (made in West Germany), a Schneider-Kreuznach Symmar 135mm f/5.6 lens, and a Schneider-Kreuznach Super Angulon 90mm f/8 lens. After some light cleaning and lubricating, a replacement of the fresnel screen (which I had picked up on a deal 9 months earlier), and more than a few hours of dry-firing, I went out with the kit for the first time.
Every shot here was on CatLabs X 80 4x5 film and was developed in D-76 1+3 for 24 minutes at 20C, using the taco method. I scanned the negatives with my Fuji X-T5 and TTArtisans 60mm f/2.8 Macro lens using pixel-shift and converted them to positives using Negative Lab Pro. The only subsequent processing I have done in Lightroom is exposure, contrast, sharpness, lens corrections, highlights and shadows, and some local dodging-burning adjustments. Everything here has been downsized to be happy on the interwebs. I doubt I will do any more adjustments as I’m not sure any warrant additional time investment.
First exposure
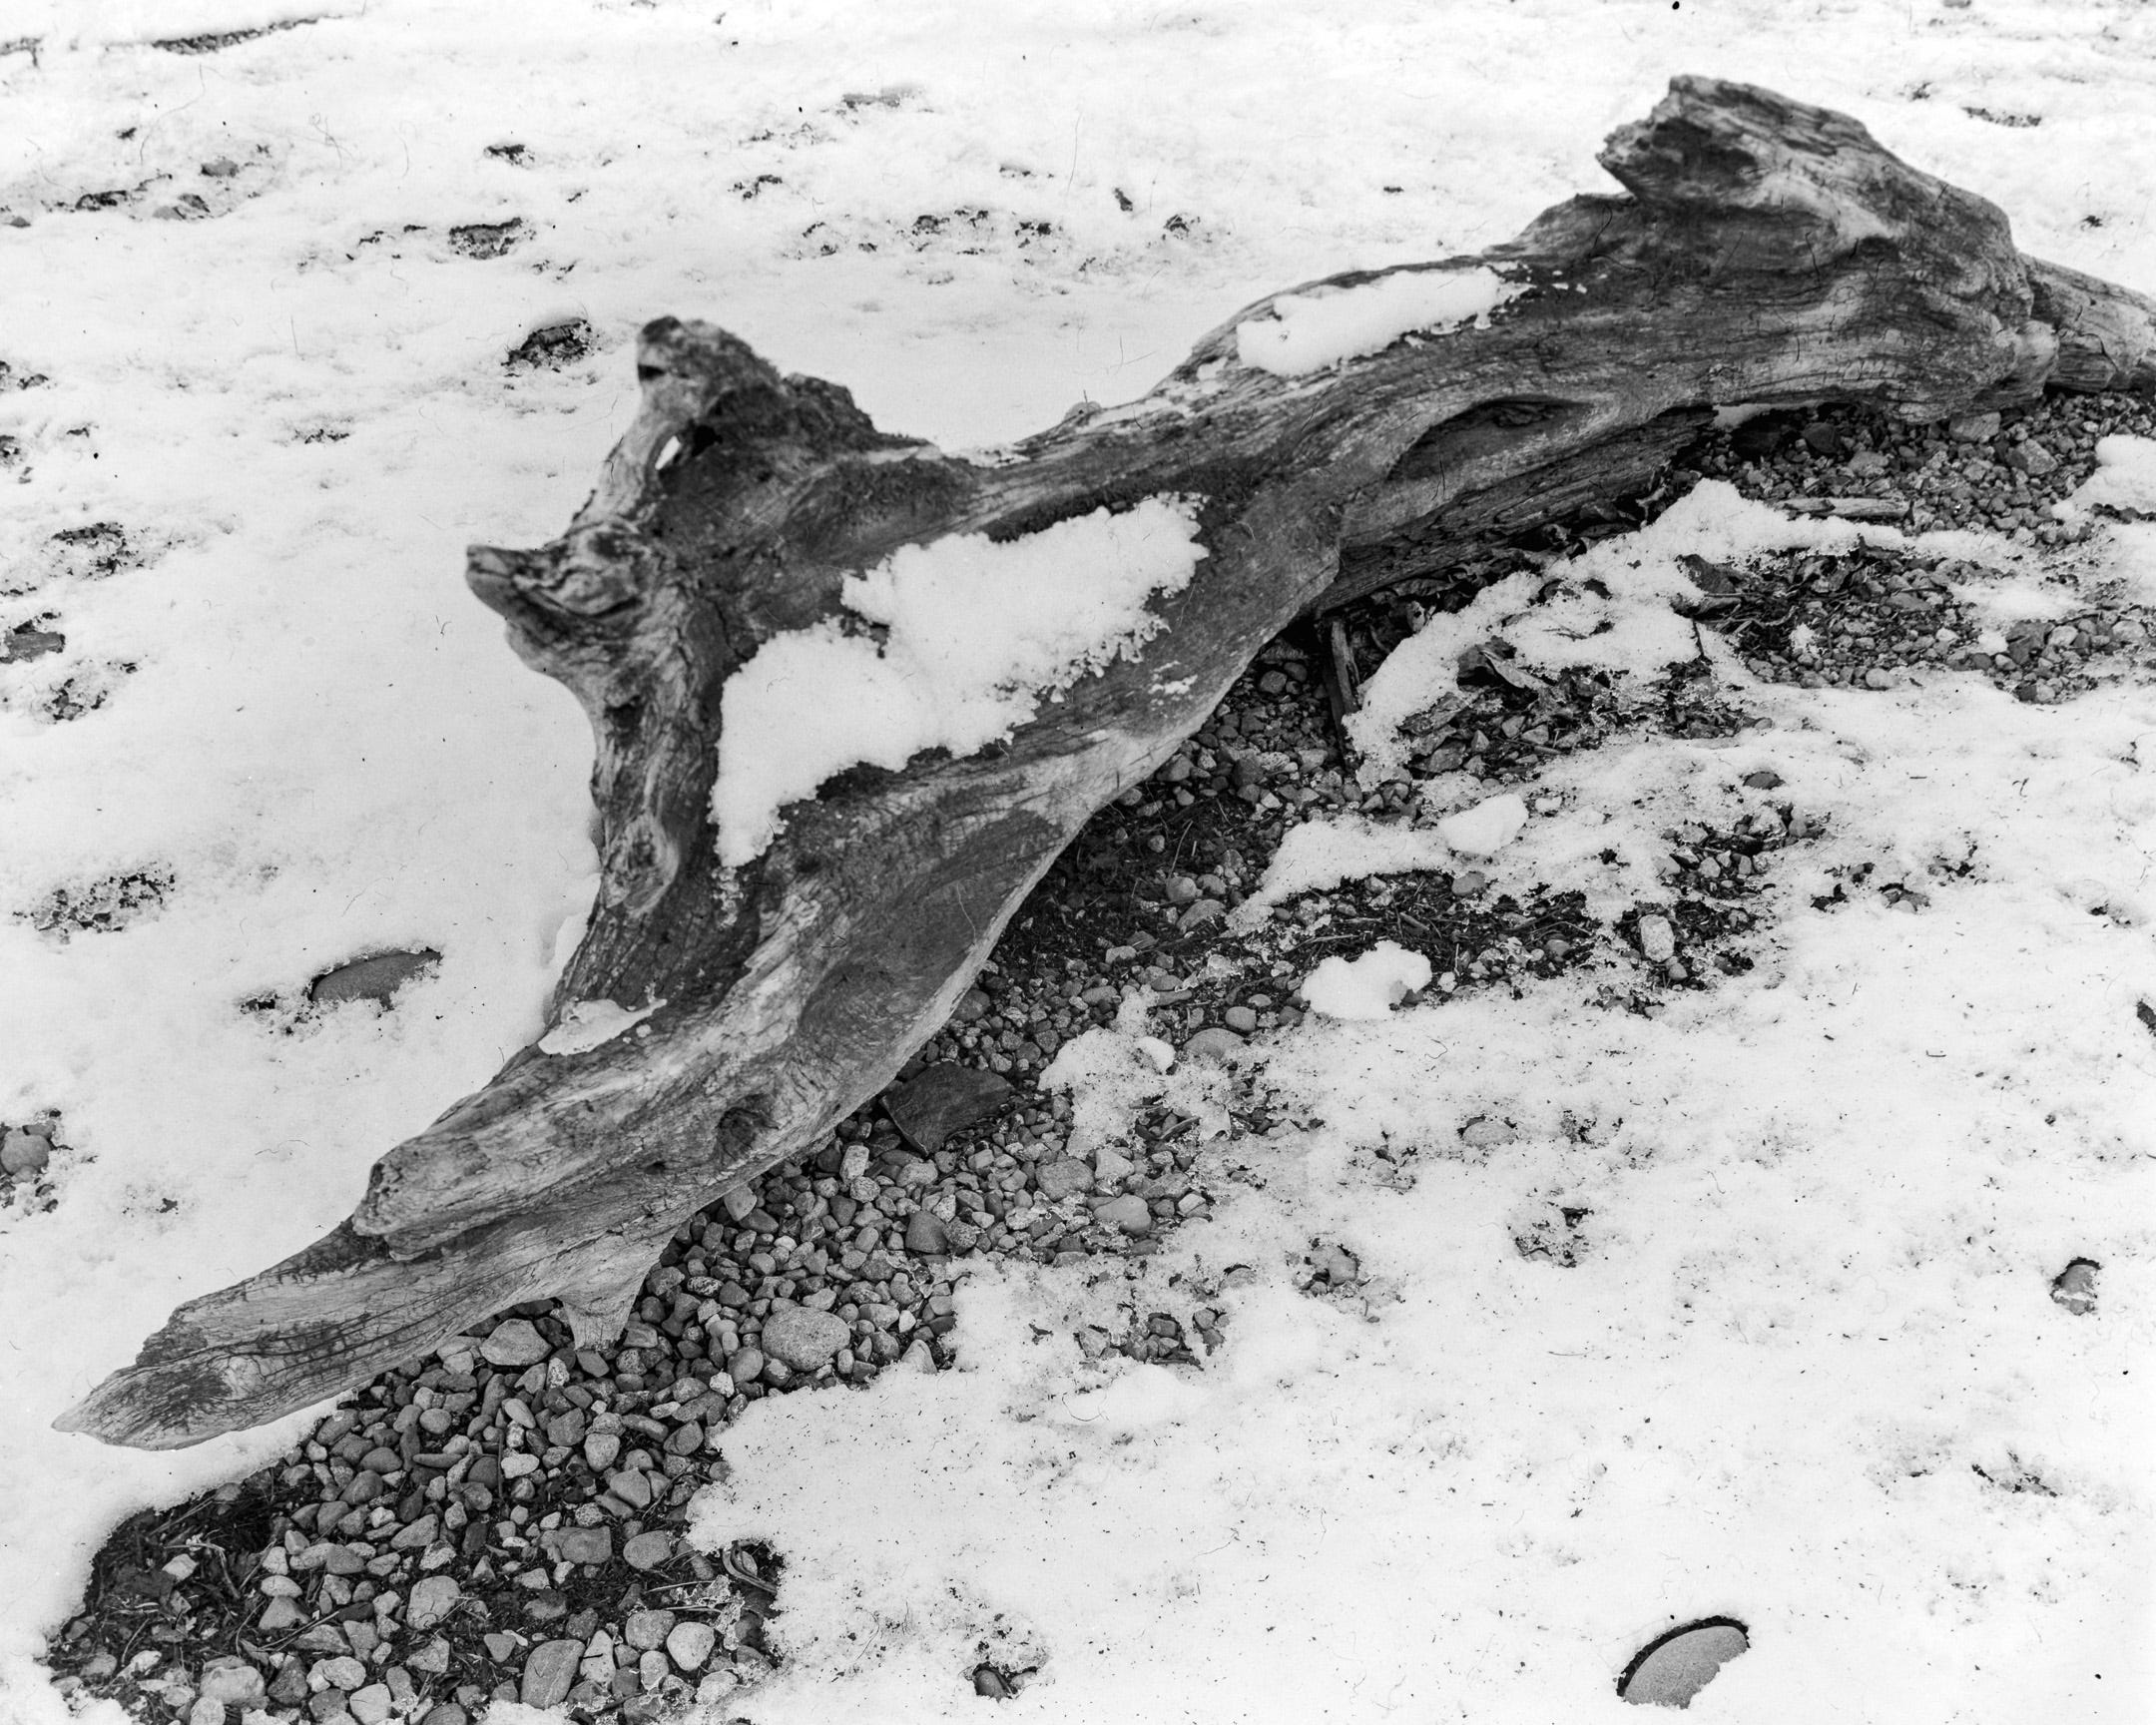
Well, here it is. Lots of lessons were learned on this one, including making sure the film is set down in the holder correctly.
Lesson 1: On the negative, this exposure is sideways by about 5-7 degrees which resulted in the top right-hand portion of the log being cut off (it kinda looks like the head of a dragon to me). Got to remember to tap the bottom of the film holder to seat the film in the holder before exposing it.
Lesson 2: In terms of composition, I should have gone much closer to what caught my eye, that section that looks like a dragon’s head.
Lesson 3: Also, there is dust shadows on this and every one of the negatives. I think it was because I used so-called lintless gloves in the changing bag when I was putting the negatives into the holders (this despite the fact that I had made every caution to clean out the bag, dust the film holders and dark slides, and all of that). My hands get sweaty in the changing bag, so I feel the need to wear gloves to protect the film. Next time some latex gloves it will be.
Second shot
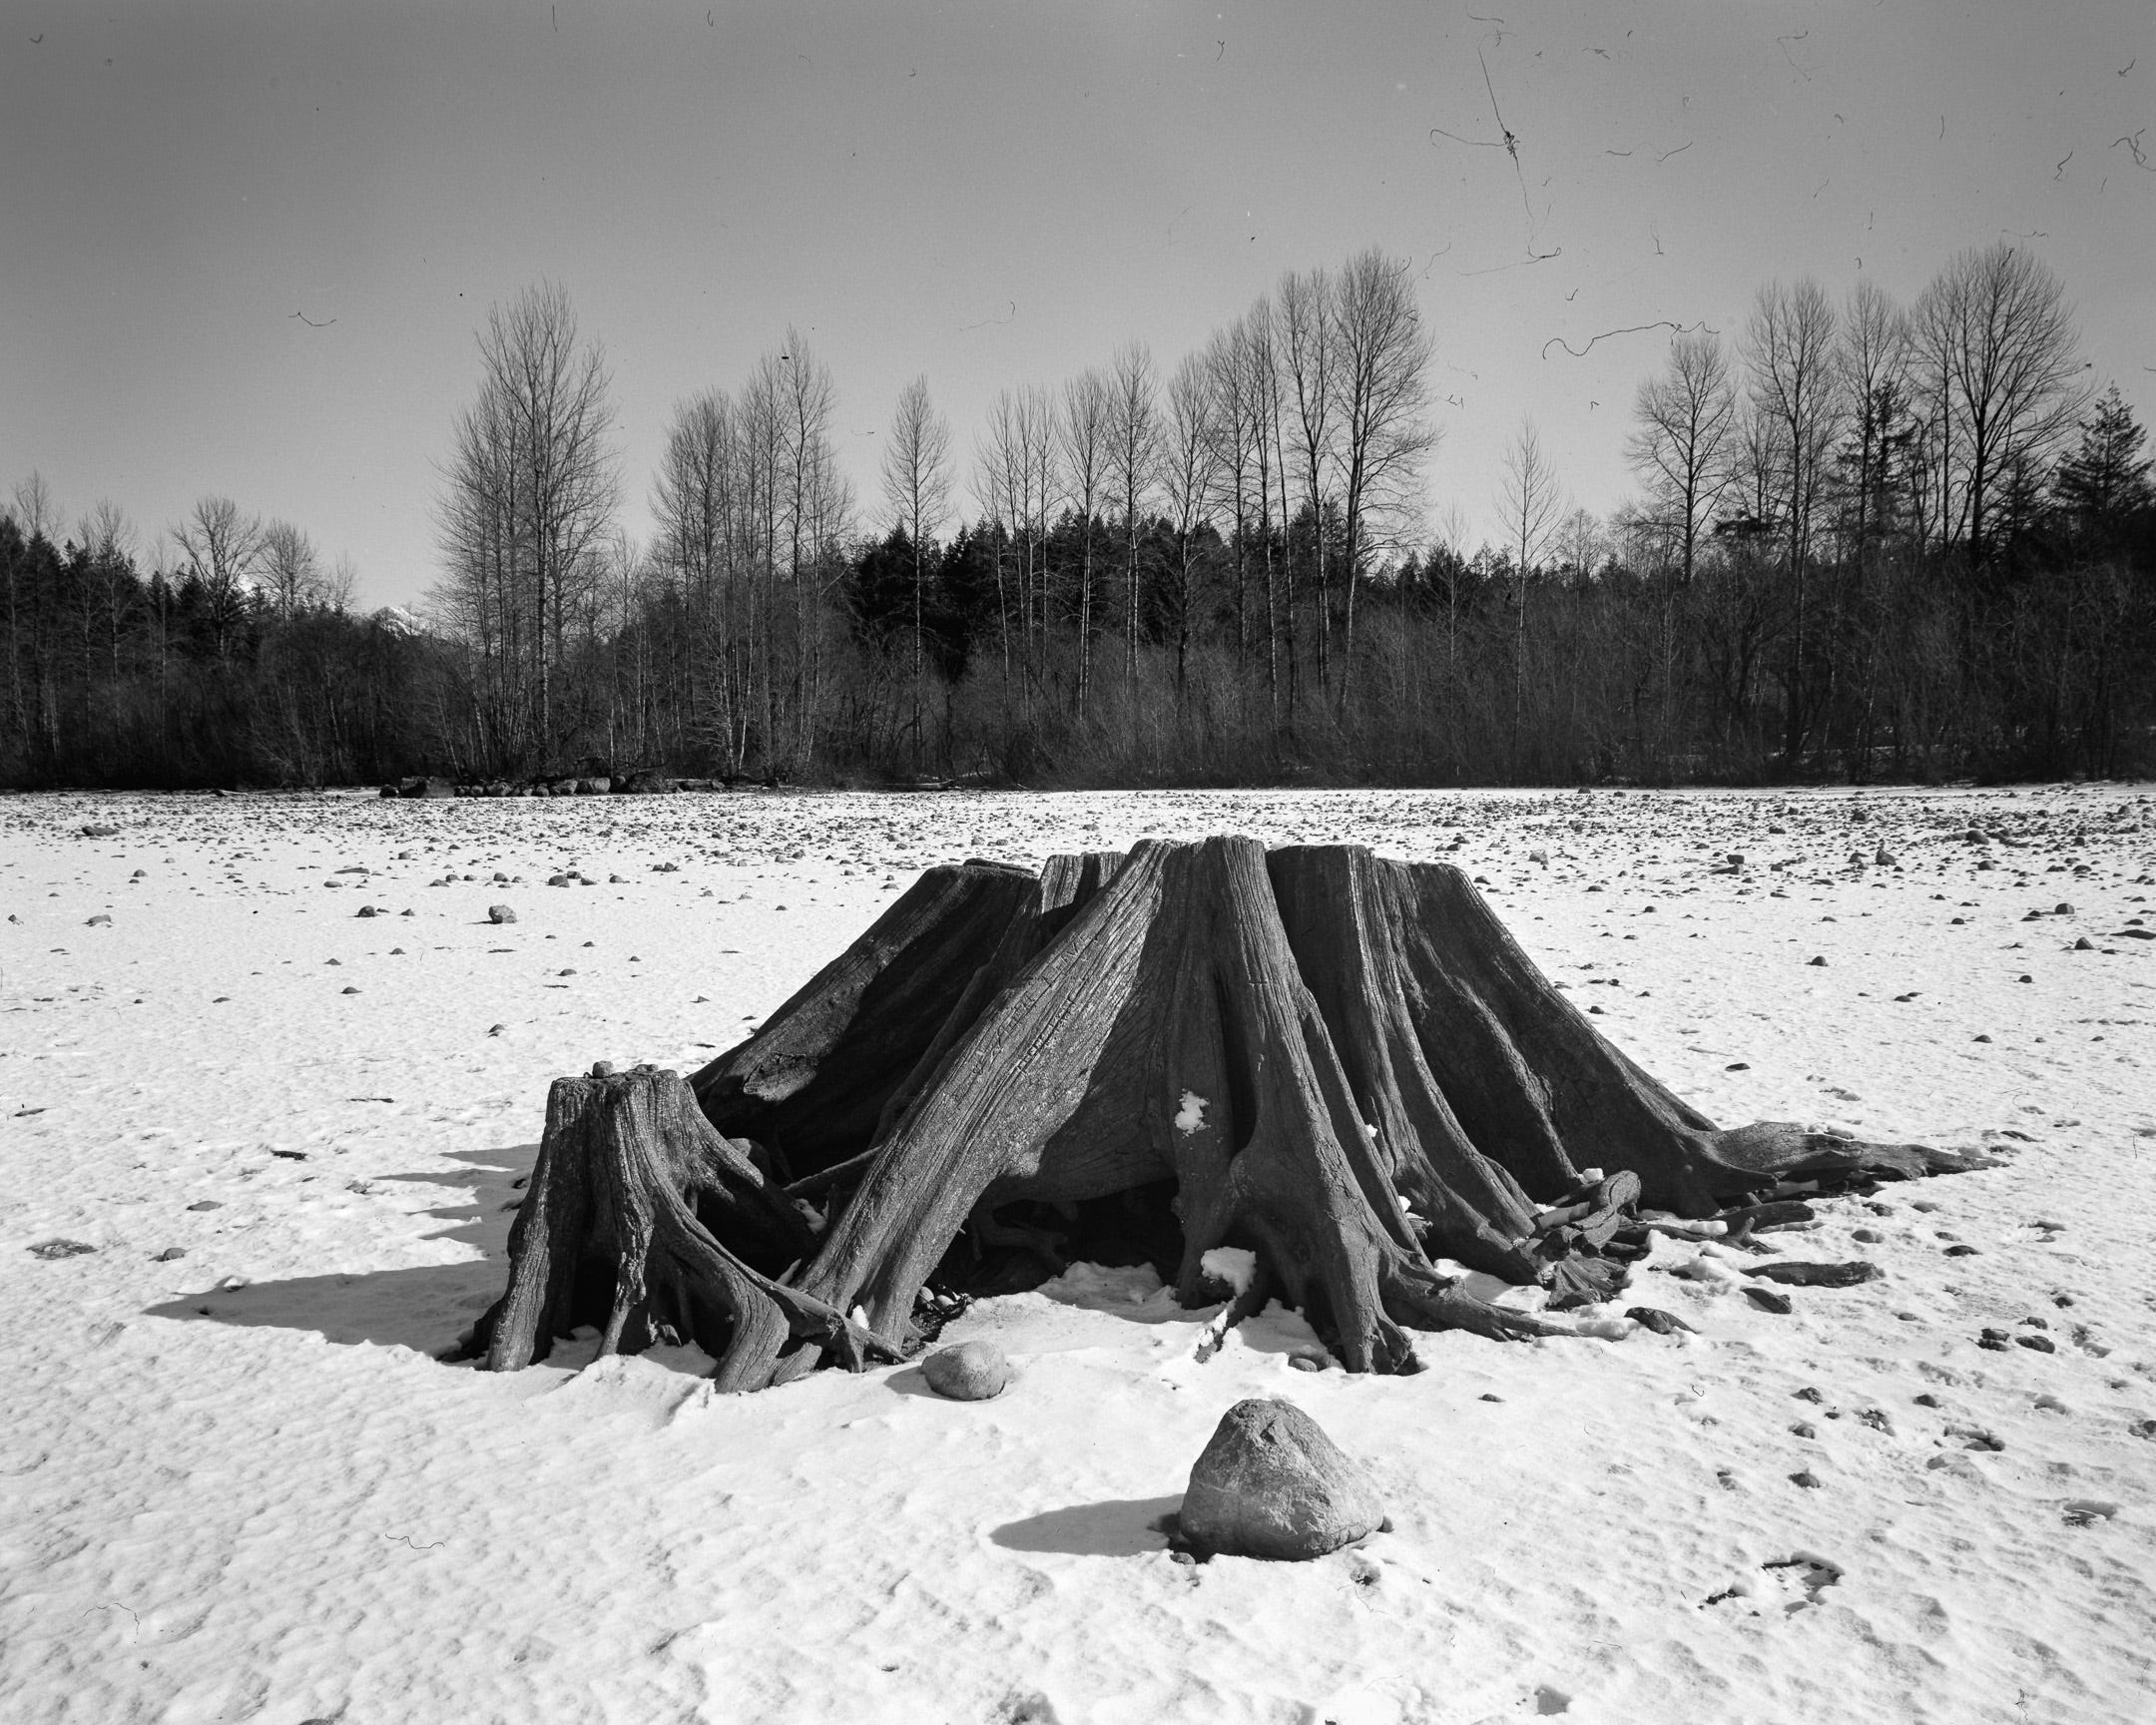
This shot was taken a short distance from the first. I set the camera up high to show a composition of the tree stump being far and away from its neighbors in the background. This stump normally sits underwater within the local lake, but the lake is fairly low over the winter months exposing these stumps that were long ago logged. I’m decently happy with this image, minus all the dust!
Lesson 4: My dark cloth blew away while I was doing the initial composition without it. I learned to keep some weight on my dark cloth while it is laying about and the wind is up.
Lesson 5: Speaking of wind, working under the dark cloth while the wind was blowing and gusting was hard. I might add some weights to the sides of the dark cloth. If anyone has tricks for this one, it would be much appreciated to hear what works for you.
Lesson 6: This isn’t seen in the image, but I really futzed around with the camera tilts and falls with this one. By setting the camera on the tripod high, I lost the rock in the foreground. I dropped the front bed of the Linhof down one notch to help bring the rock back into the scene, but it still wasn’t enough. I tried to go for the third notch of the front bed drop but my tripod plate interfered with it. I eventually just pointed my camera down a little bit, risking the trees in the background not being as straight as possible. And when I got back to the van I made some gear changes so this won’t happen again.
Lesson 7: Wide-angle lenses need recessed lens boards on the Linhof IV. This was taken with the Super-Angulon 90mm and the rise-fall knob is basically unreachable making fine adjustments at best difficult. I’ll put a recessed lens board on my wish list.
Lesson 8: This was a high-contrast scene but I think I did ok exposure-wise. I placed the bright snow under direct sunlight in zone 8 (just in front of the stump) and that put the darkest shadows under the stump in zone 2, and the shadows of the stump on the stump in zone 3. I think the compensating nature of the D-76 1+3 dilution helped as there is detail in the scan in those very darkest areas.
The third and final shot of the day
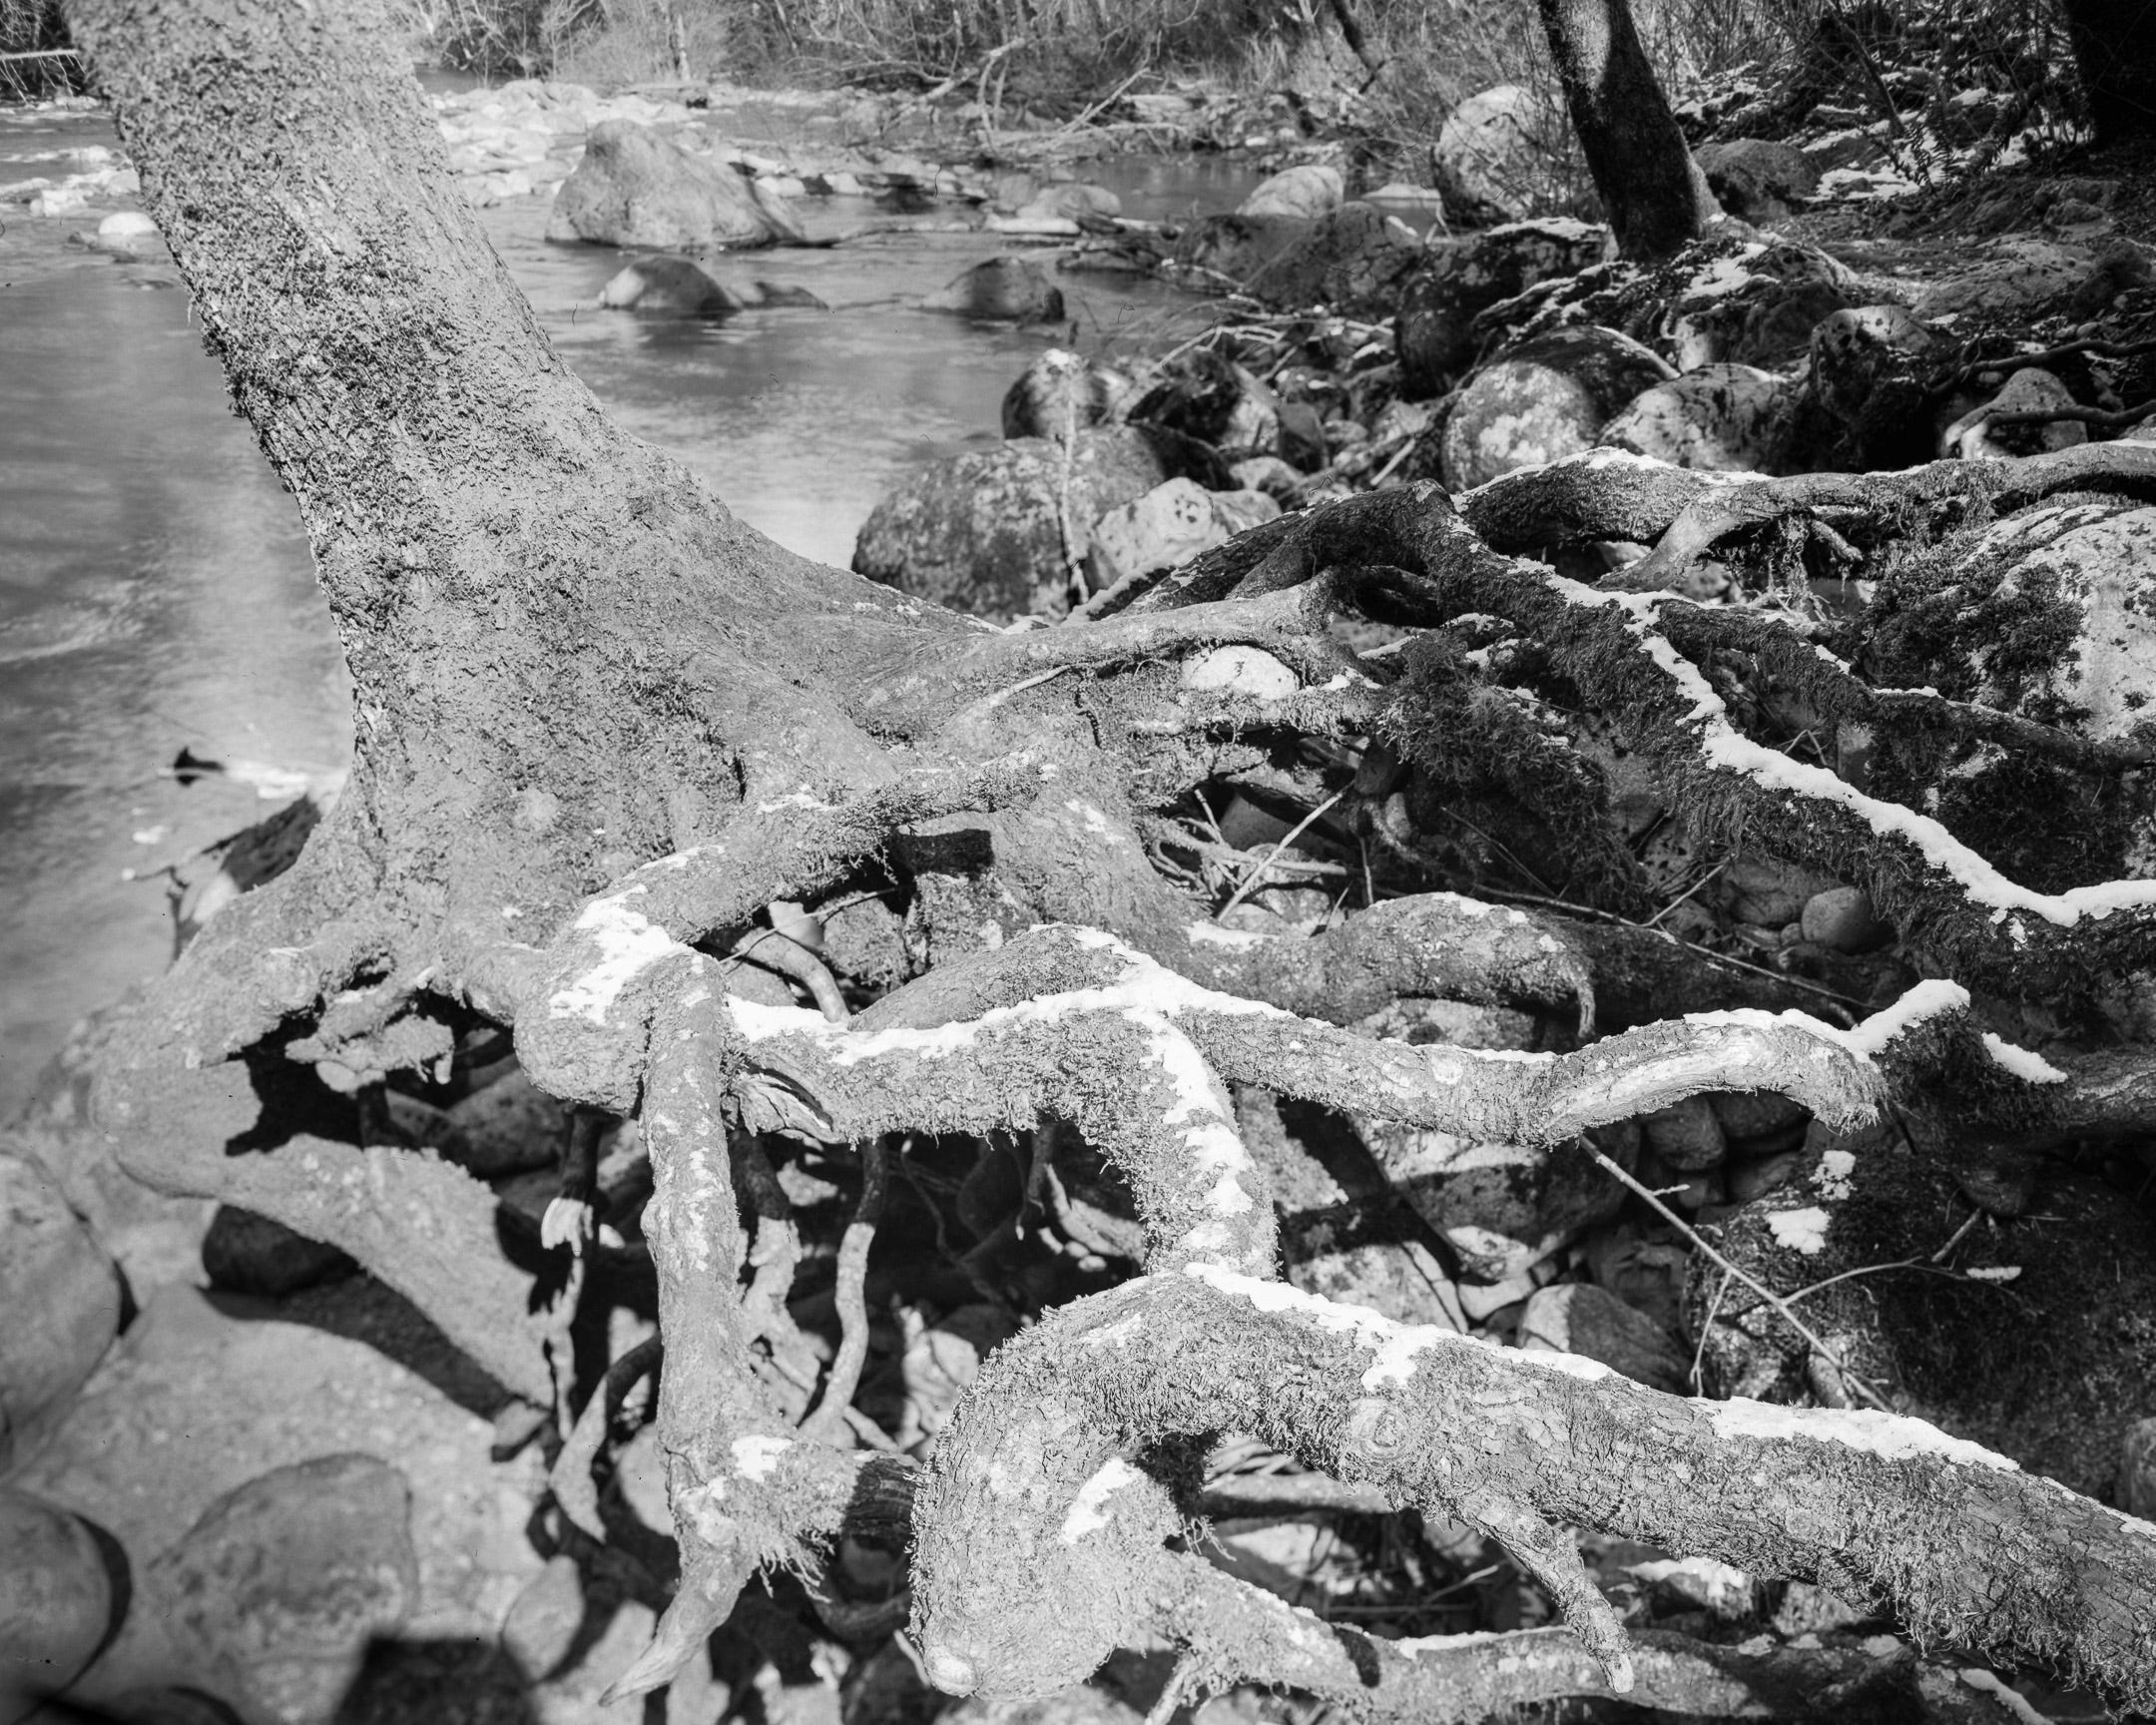
The final shot was of a tree that I keep wanting to get a good image of one of these days. I really like its exposed root structure and mossy parts. This one had a combination of forward tilt and swings to try and get critical focus.
Lesson 9: Critical focus. It takes time and iteration. I almost got it, but the main portion of the tree is still a bit out of focus.
Lesson 10: 4x5 is much taller ratio-wise than my Fuji’s and 35mm camera. In the bottom left corner is a little boxy shadow: this is the camera.
Final thoughts
This was every bit the slow methodical type of photography I was looking to do more of. Everything required more dedicated time commitment than what I typically find in my days. There were frustrating times for sure (my Apple Watch even let me know about them once), but I enjoyed the learning and the required increase in patience (and a few of the long stares but those passing by were even ok). I’ve already reloaded the film holders and am ready to go out again!!!